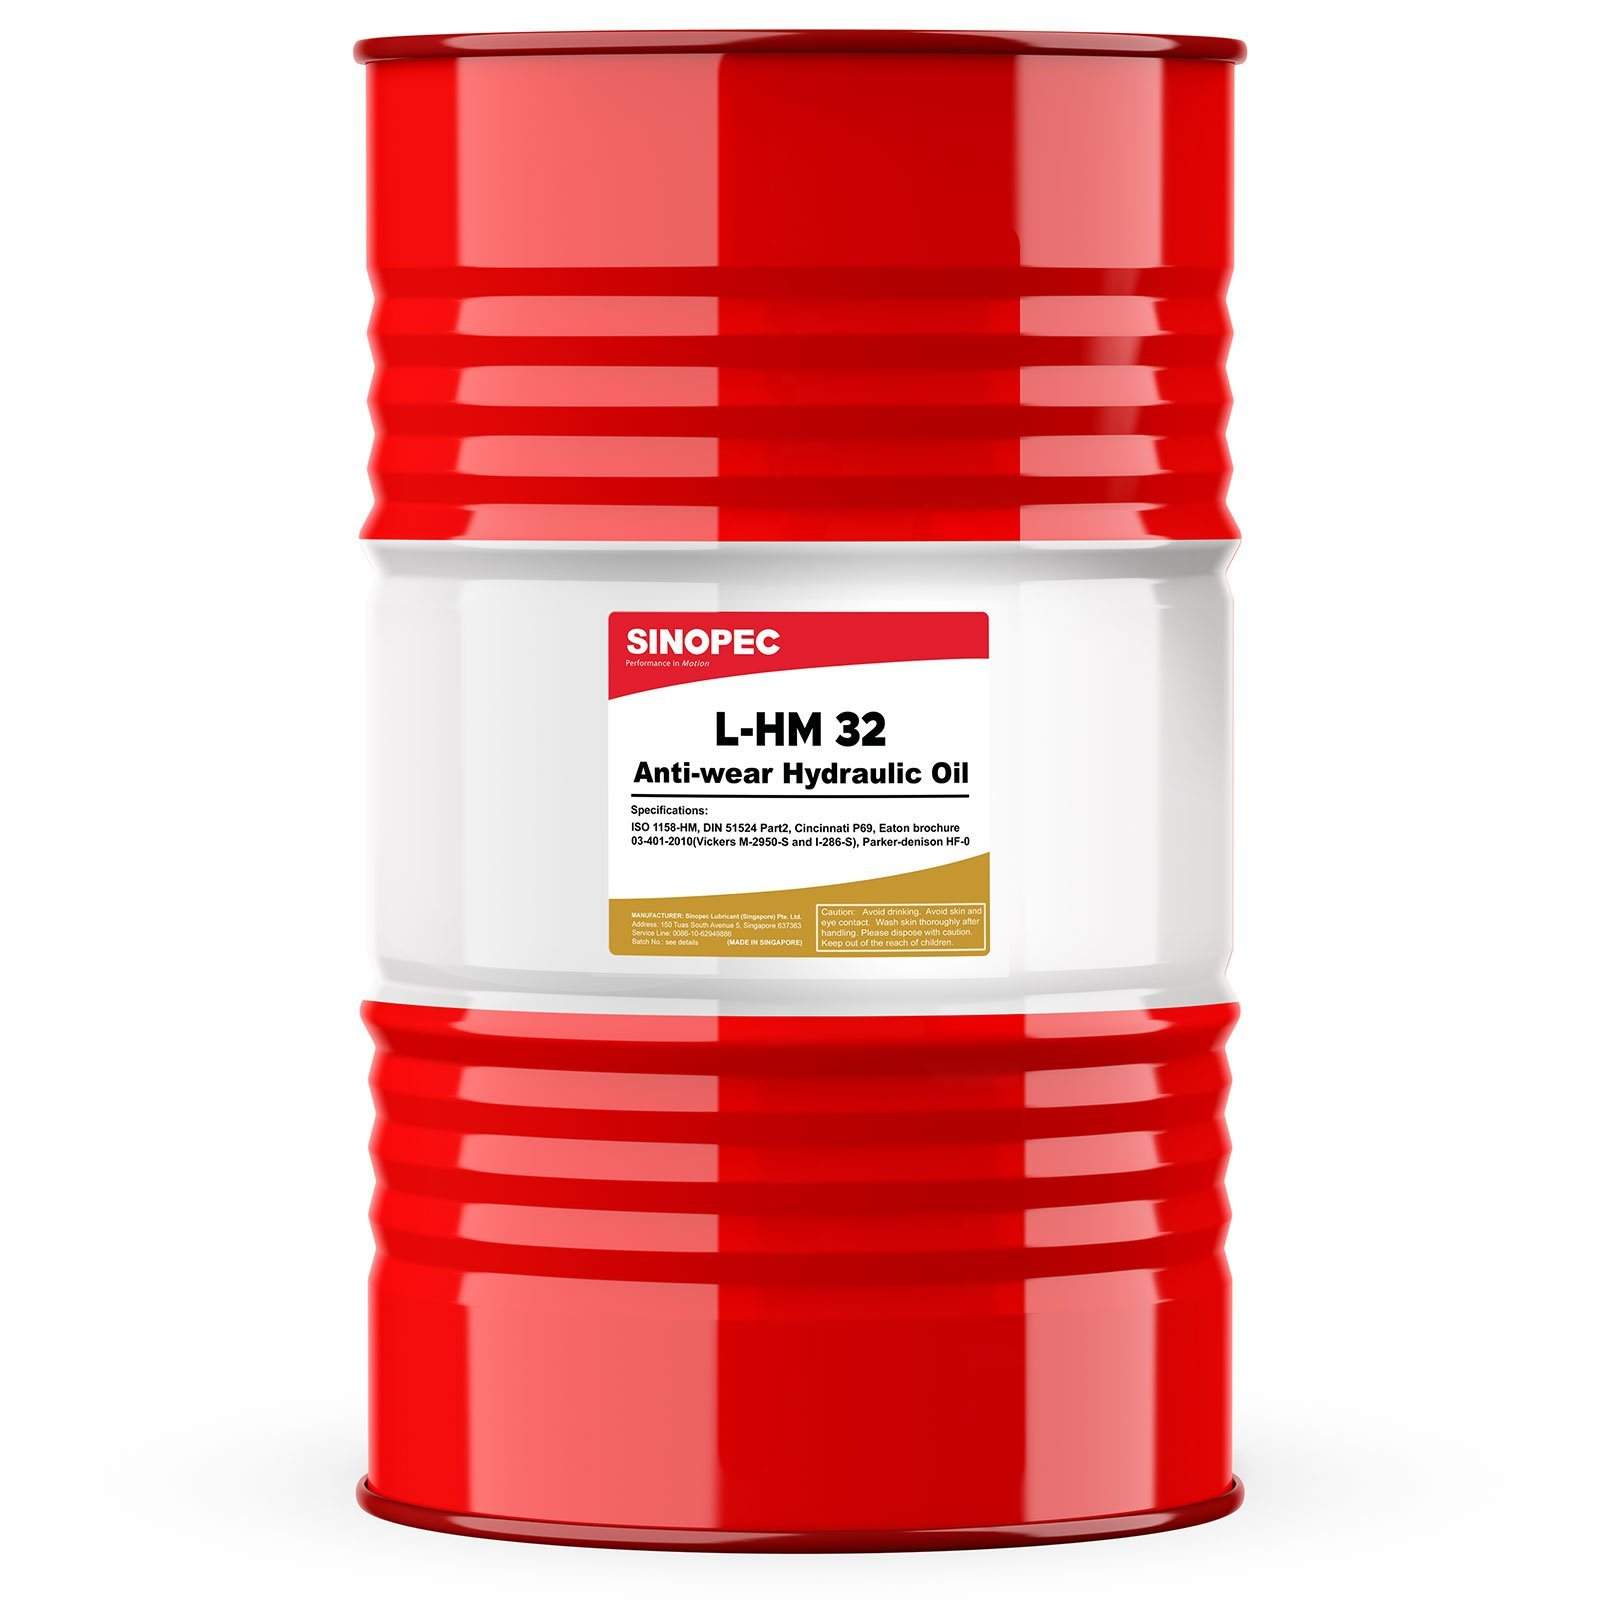
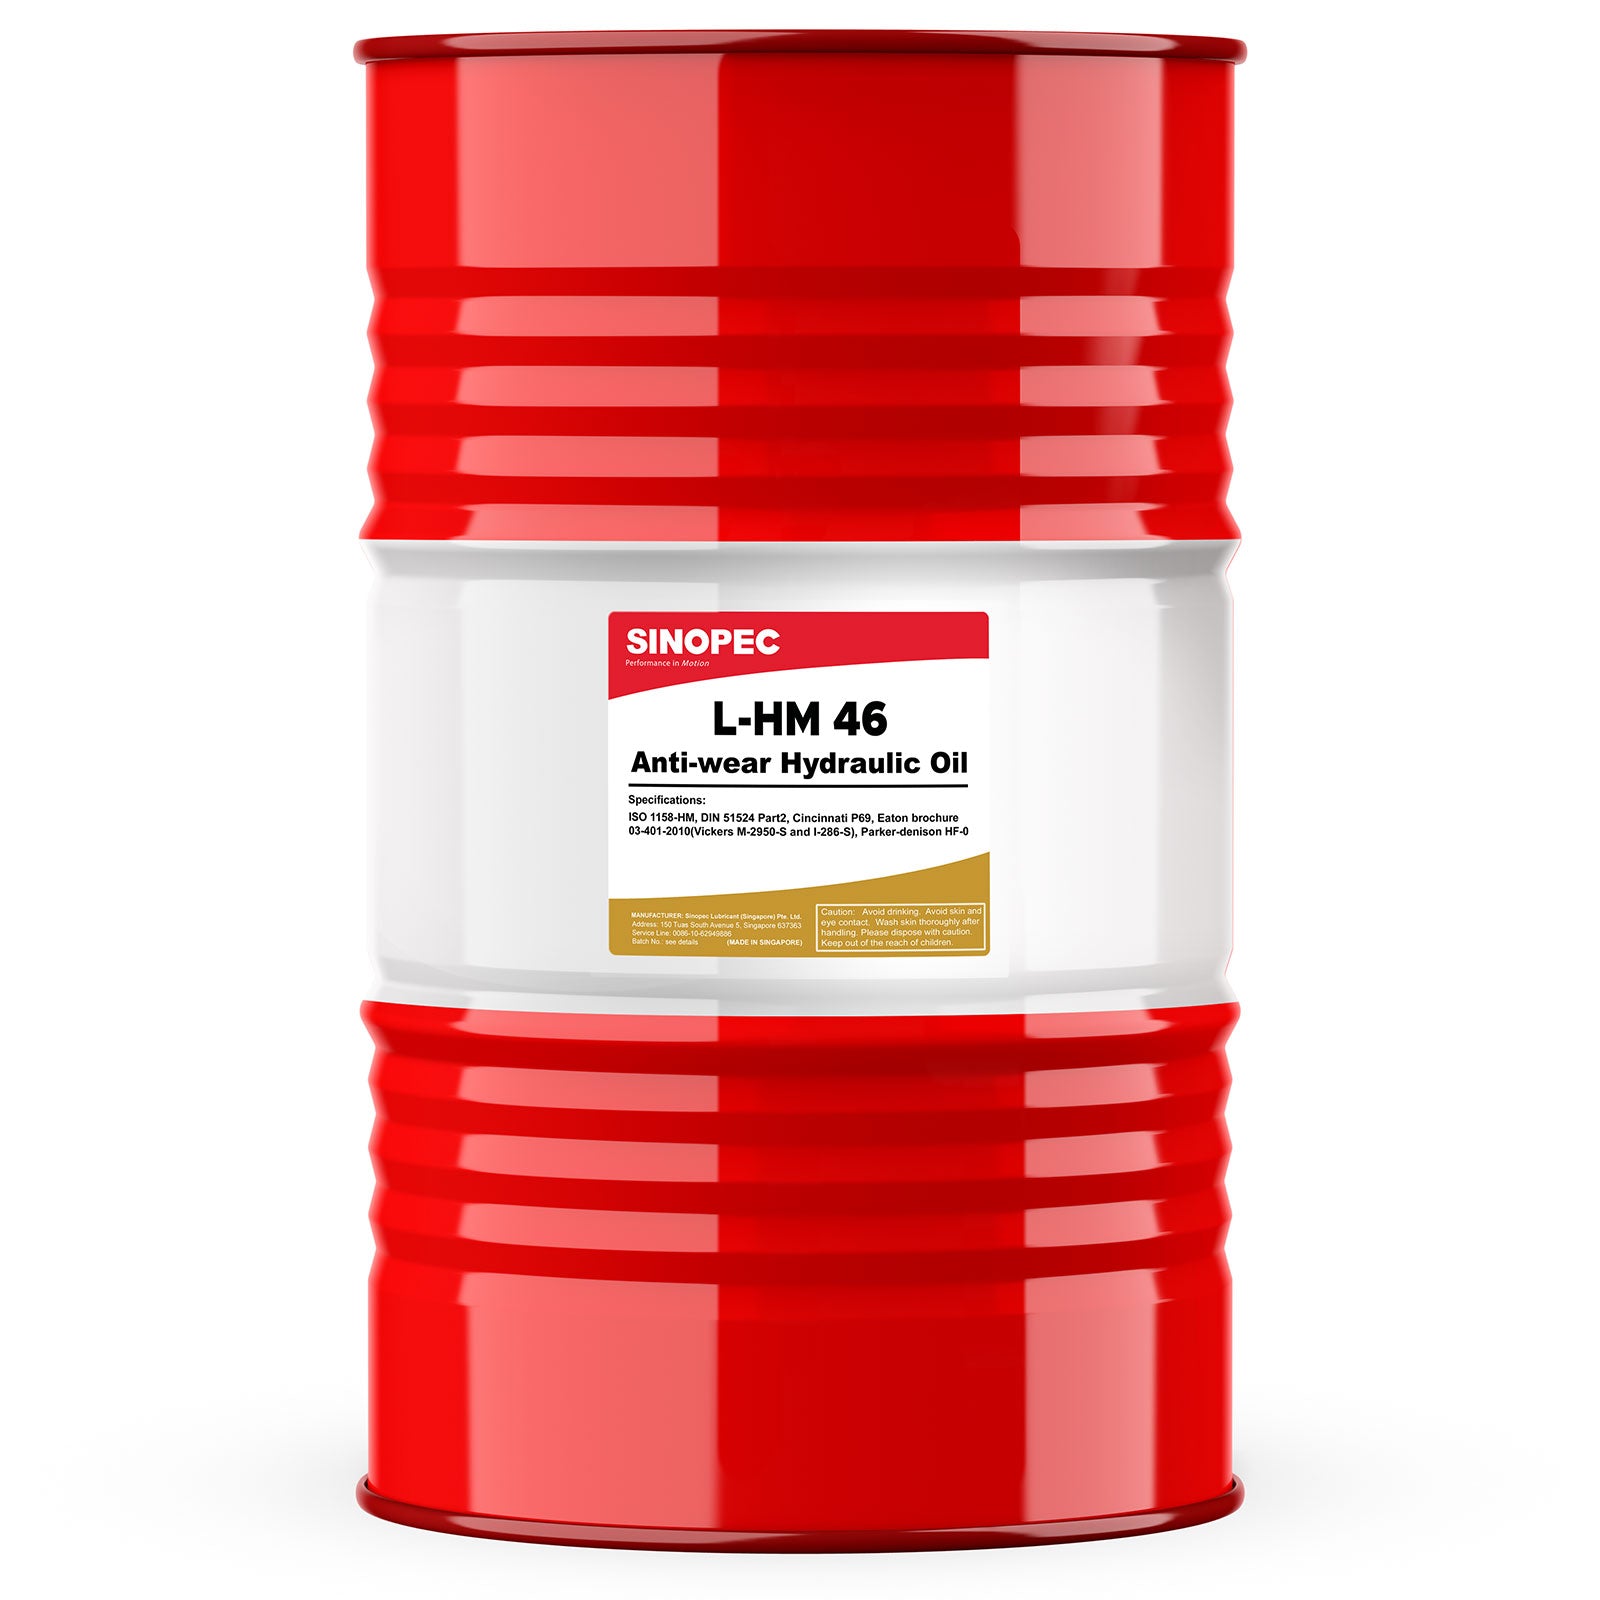
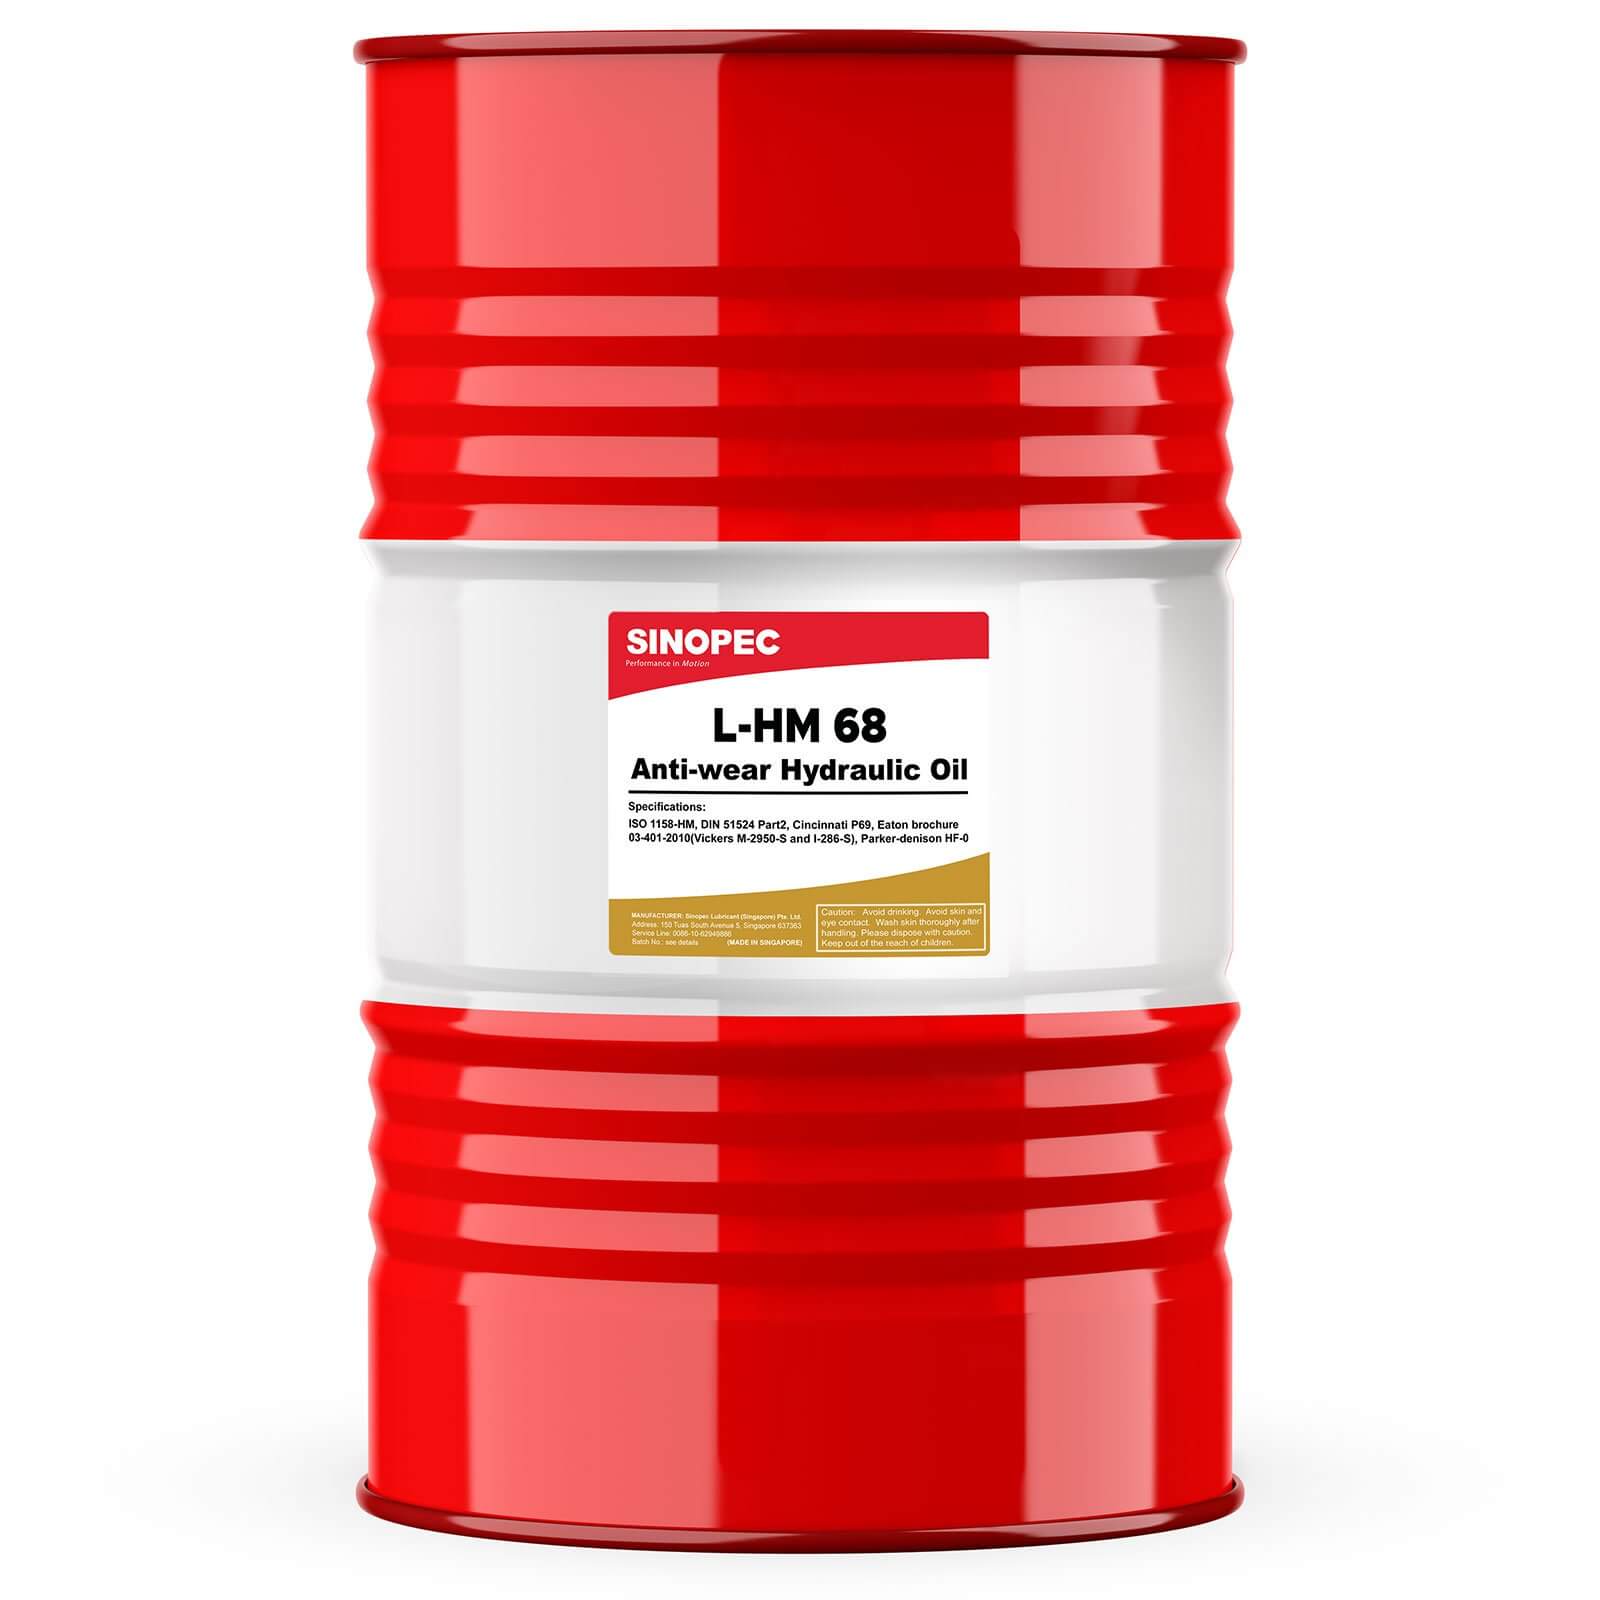
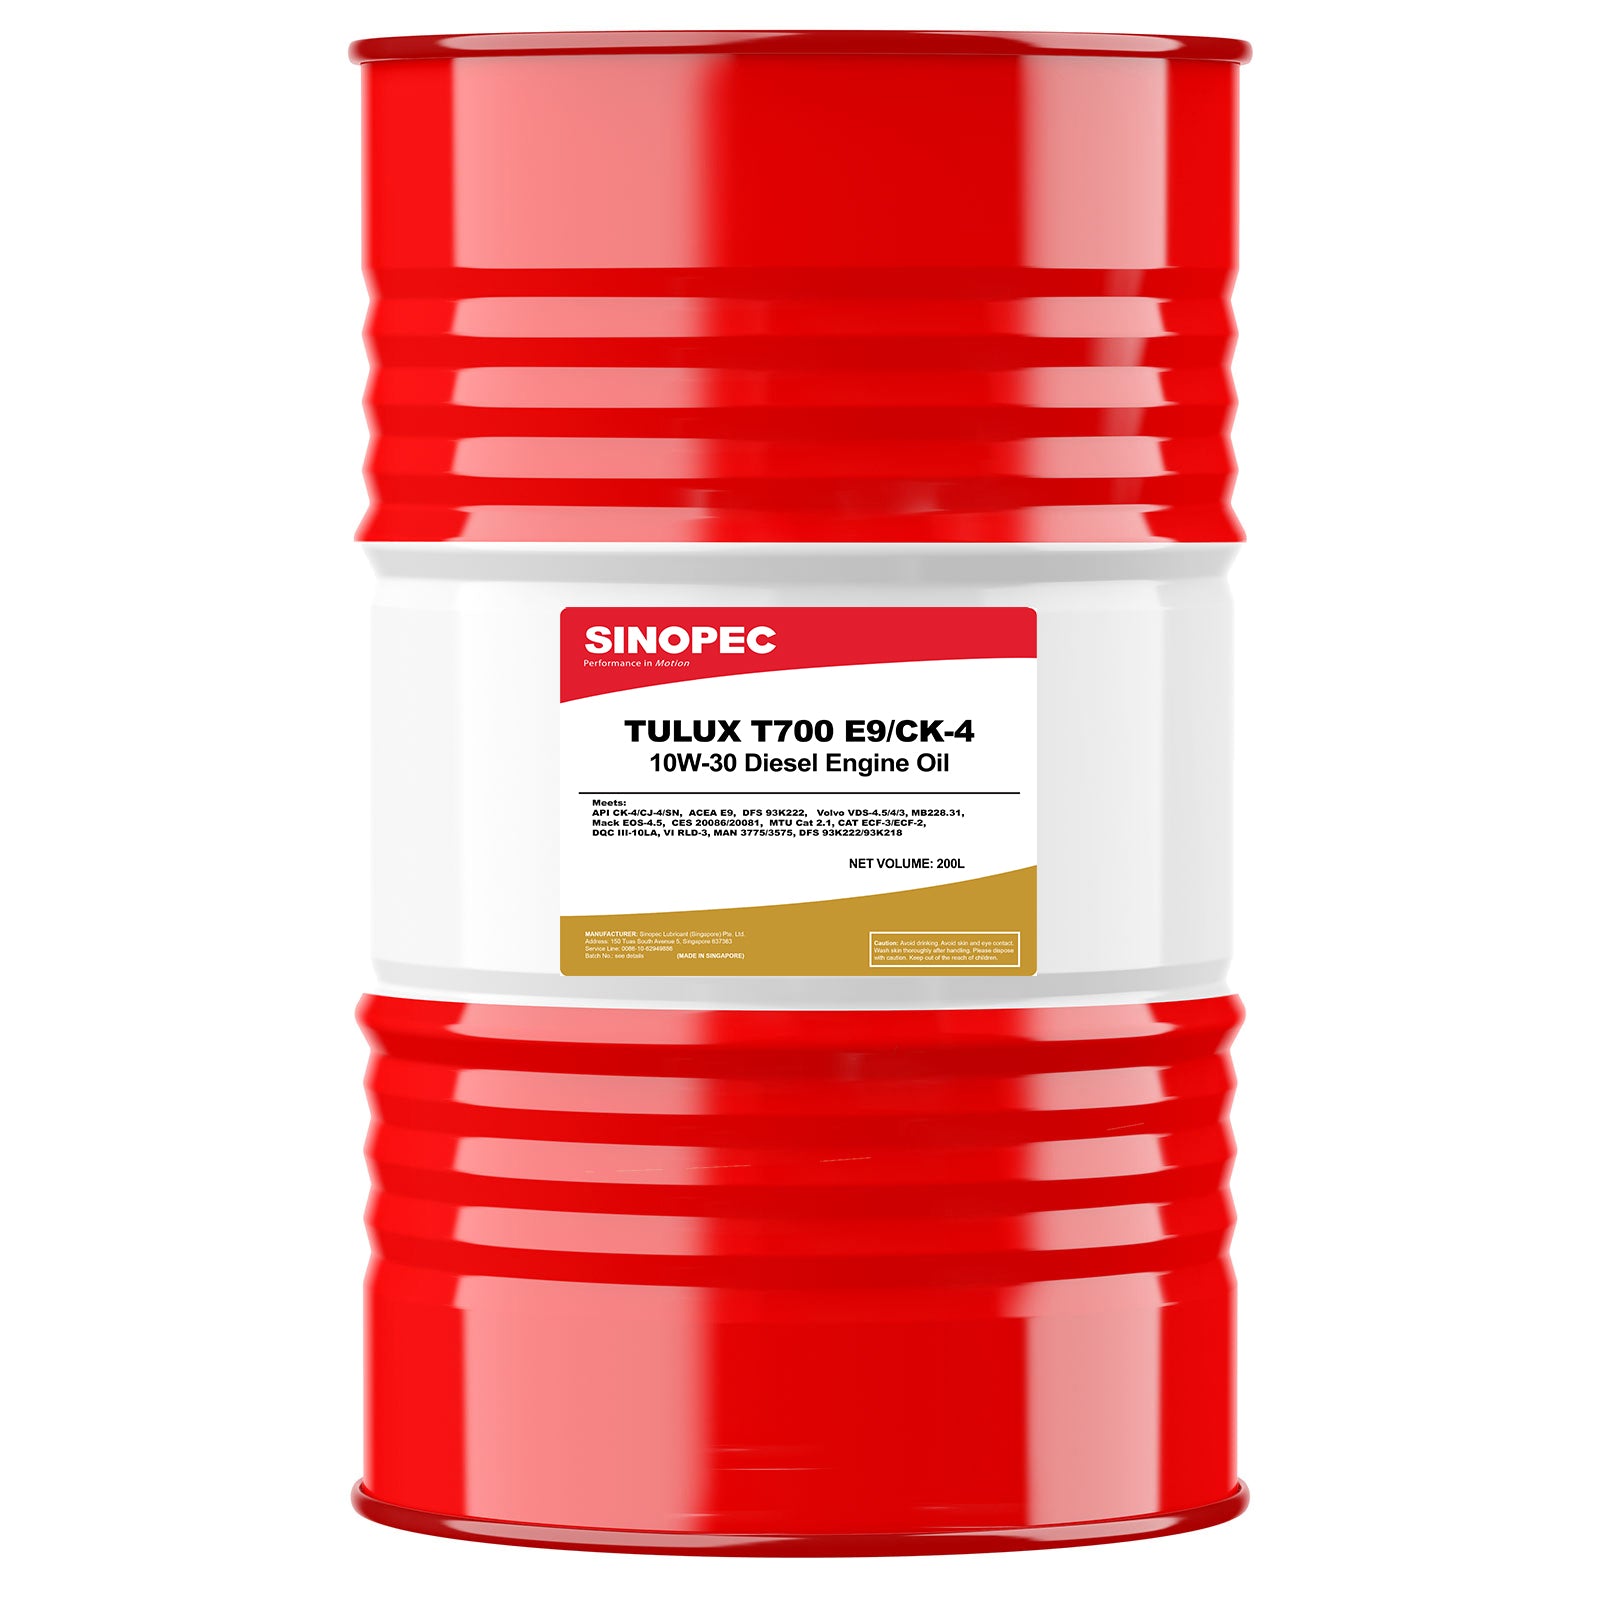
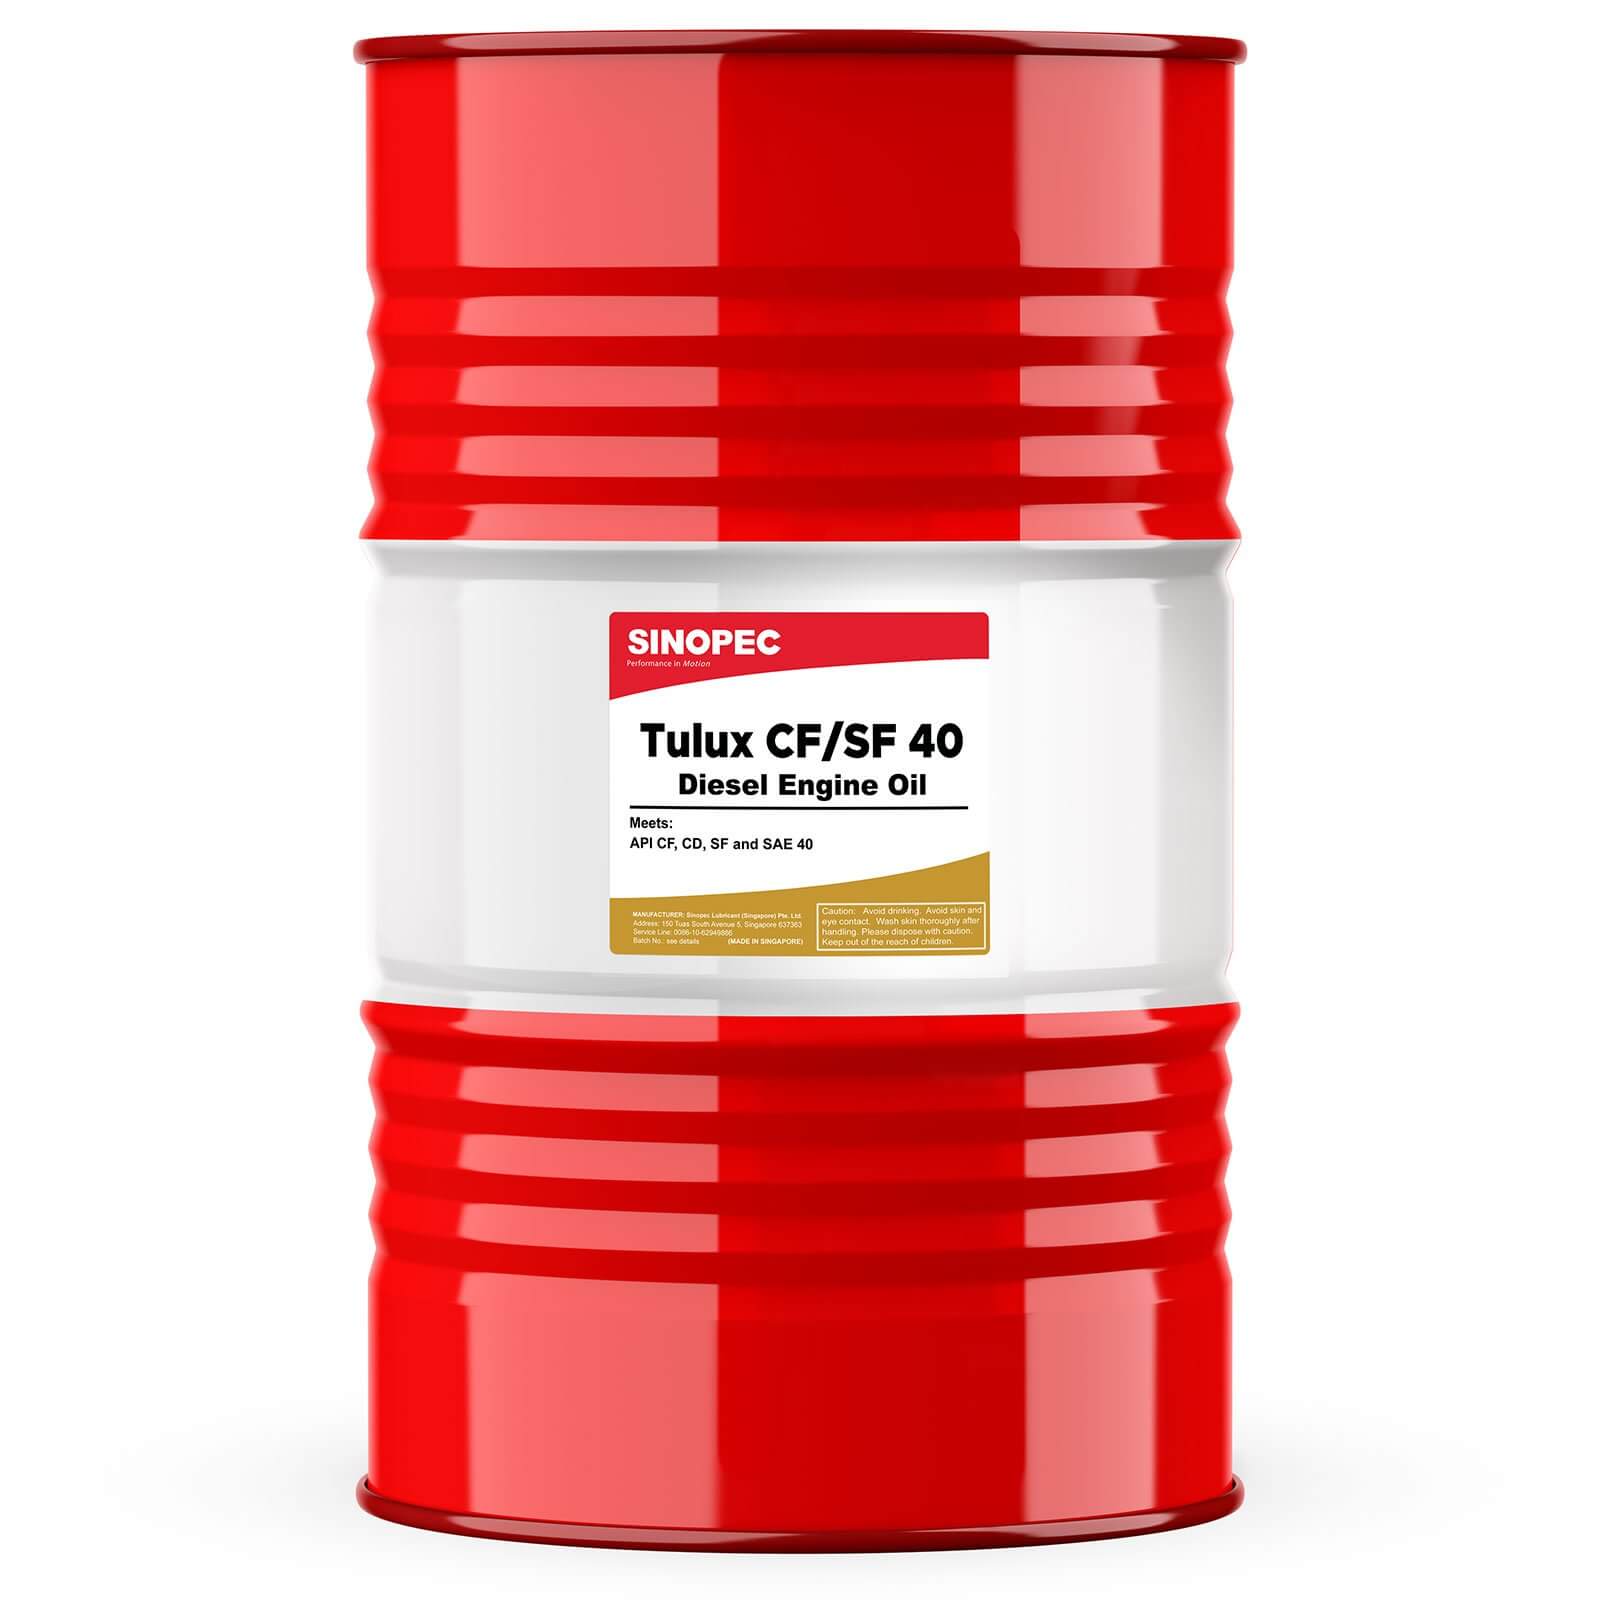
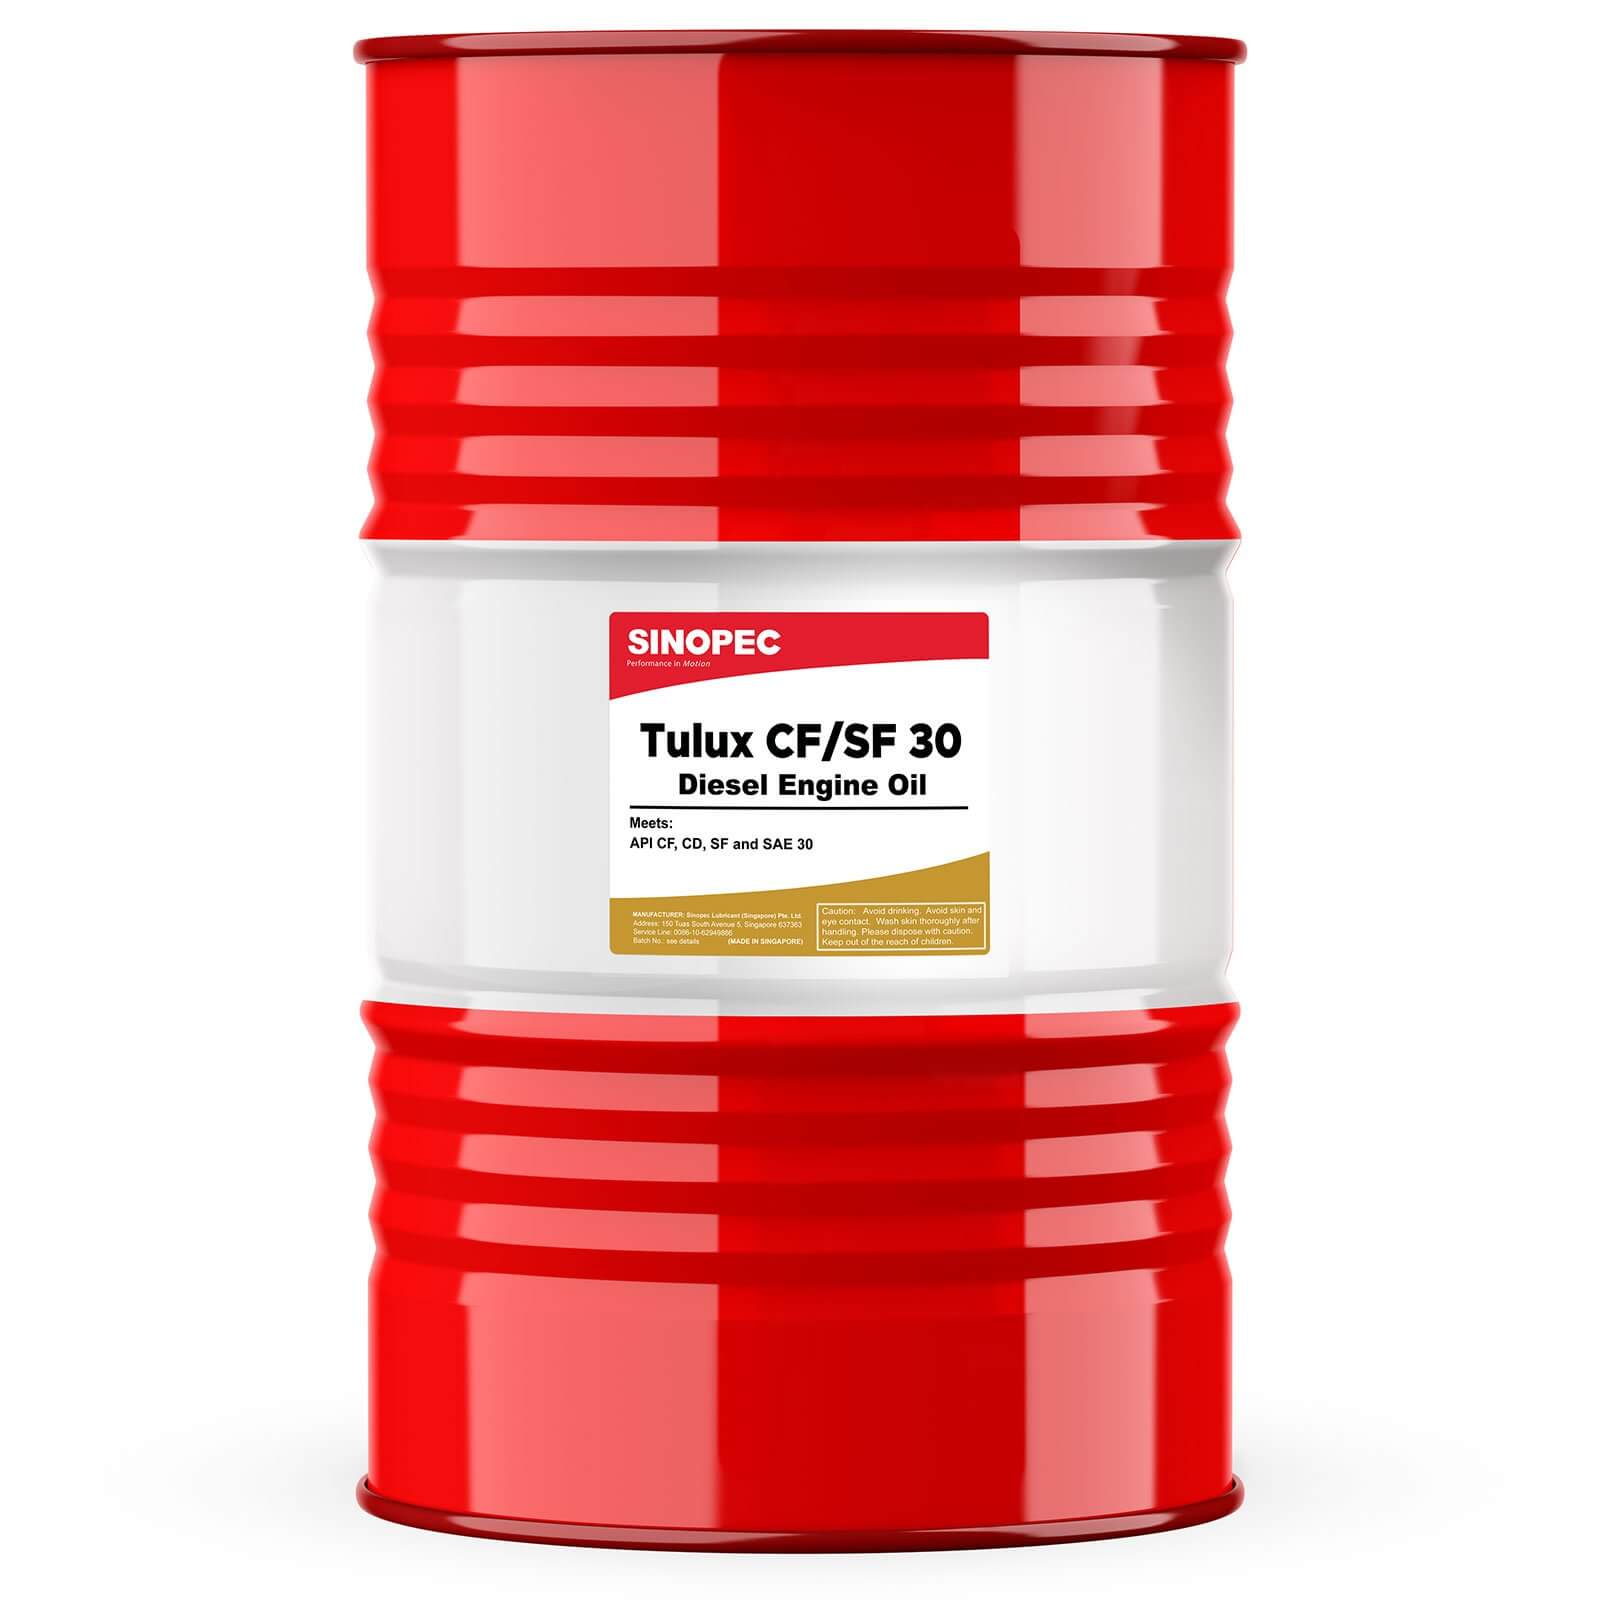
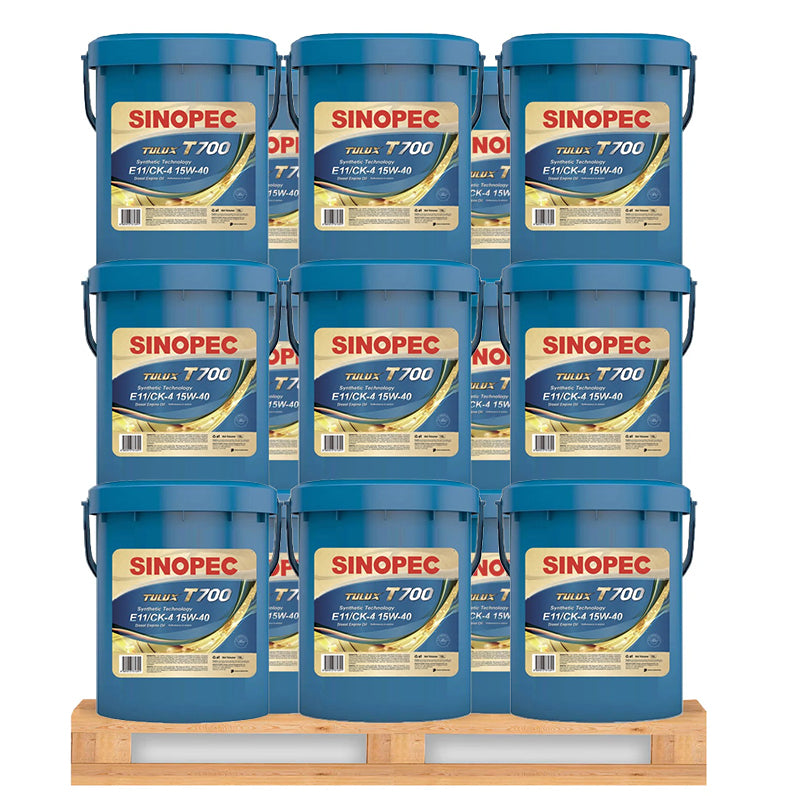
Use SAE 20 hydraulic oil above 32 degrees & to use SAE 10W hydraulic fluid below 32F
Call: 1-855-405-6789 or Order (Log Splitter Hydraulic Fluid Oil)
A properly maintained hydraulic log splitter means faster yard waste clean-up and a well-kept lawn. Use the following log splitter maintenance tips to ensure your machine continues to run smoothly and efficiently all season long.
Instructions
Step 1:
Check for leaking hydraulic fluid. If you suspect there are hydraulic fluids leaking from your log splitter, you can check by passing a piece of cardboard or wood underneath the damaged area. Be sure to wear work gloves and safety glasses to protect yourself from dangerous fluids.
Step 2:
Fill hydraulic fluid. When hydraulic fluid is low in your log splitter, your machine will have noticeably less power. To determine the appropriate amount of hydraulic fluid to add, you must first remove the oil filling plug. Then fill the hydraulic fluid unit until it is three-fourths full.
Step 3:
Remove air from the hydraulic cylinder. After you have added the right amount of hydraulic fluid, you'll need to remove, or bleed, the trapped air from the cylinder. First extend the piston rod to its maximum length and remove the oil filling plug. Then, twist the release screw in a counterclockwise motion as fast as you can. The piston rod will draw back into the cylinder which will cause the air to be released.
Step 4:
Consider buying a self-lubricating log splitter which automatically cleans the log splitter parts after every use. There is minimal effort required by you to keep your machine maintained. One of the biggest advantages the self-lubricating log splitter provides is routinely cleaning the blades so they stay sharp for a longer period of time.
Step 5:
Sharpen the blades. When it's time to sharpen the blades on your hydraulic log splitter, use a coarse metal file to sharpen any dull areas, and repair chips and nicks in the blade. To sharpen the point of the blade, smooth down the sides of the blade to reform the sharp point. Then, run a fine metal file along the edge of the blade to finish the process.
Step 6:
Clean the log splitter regularly. If your hydraulic log splitter is not self-cleaning, be sure to clean your machine regularly to remove oil, grease and debris. Make sure the machine is always turned off before you preform any cleaning. Also, remove debris around the machine so nothing can get lodged in the log splitter during operation.
Step 7:
Store the log splitter in a dry place. Avoid damage from water and mold by storing your hydraulic log splitter in a dry storage area. A shed or garage is the perfect option if the building unit stays dry throughout the year. Cover your machine with a water-proof tarp for extra protection.
Step 8:
Replace worn log splitter parts. If any log splitter parts are worn or broken, be sure to replace them before operating your machine. Compare the part and model number to the new part when you're ready to make the purchase. This will ensure you buy the right part for your specific hydraulic log splitter.
Step 9:
Now that you've learned some basic log splitter maintenance tips, you're ready to operate your hydraulic log splitter all season. To ensure proper maintenance of your log splitter, be sure to refer to your operator's manual for repair and maintenance instructions specific to your model. Your log splitter parts will run correctly and efficiently so you can split more wood at a faster pace. You can also replace a worn part on any log splitter with genuine log splitter replacement parts. Properly maintain, clean and operate your machine with confidence.

